Quite the Adventure for a Painting
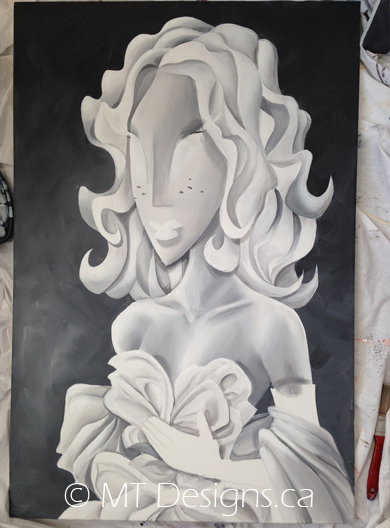
I started this painting in summer 2013. She has had quite the journey from sketch form to final piece. Let me tell you about it…
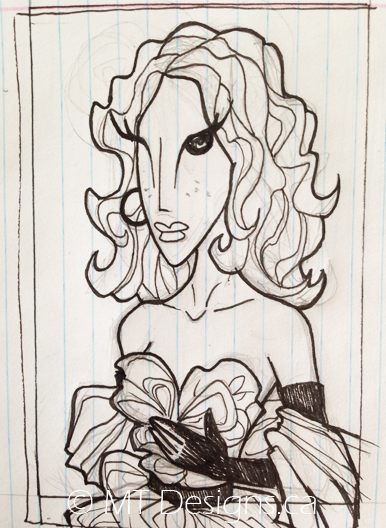
Here is the initial sketch idea for it.
For some reason I love the look of lace and always think it’s an awesome idea to include a bunch of it in the designs of these paintings.
I just feel it gives them an extra bit of class, it looks impressive when it’s painted, it adds a level of details, etc… All the inner thoughts I convince myself with while scribbling the ‘lace’ veil on this piece of paper.
What I seem to forget (or rather I dismiss it as unimportant) is that PAINTING lace is a painnnn! And I always, ALWAYS shake my head and wonder why would I chose to include so much of it when I know these facts from experience?!
Answer: Because it’s worth it. Case closed
Note to self: Use that as excuse for internal debate next time sketching lace
So I wanted a back view for this one. I find the shapes and shadows of a nice back very pleasing. I knew that would be the challenge of this one (other than the lace but I chose to ignore that as I previously mentioned)
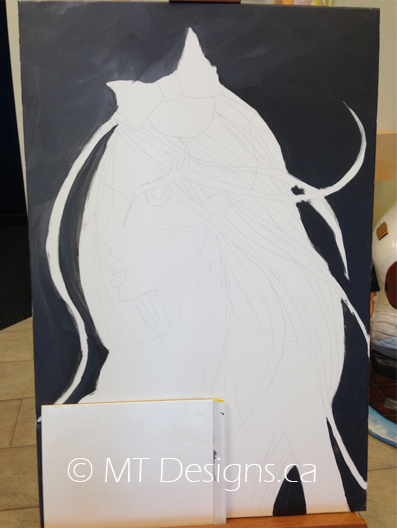
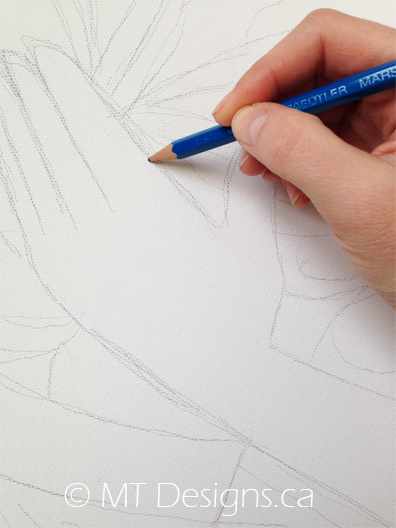
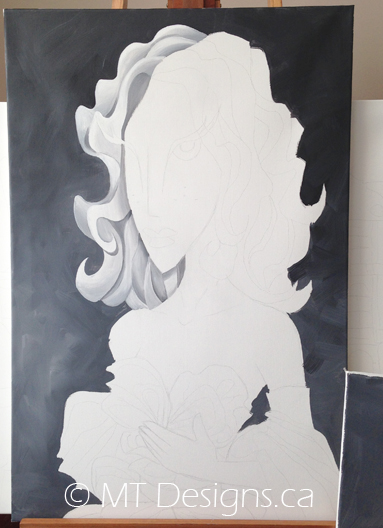
Now when I started this one, I was in the middle of a move. So I drew her up on the canvas at her first home. This is a pretty standard step. Just duplicate the sketch onto the canvas pretty much. I wasnt sure what earrings to give this one. She’s part of a set of 3 ladies. I decided to go with some pearls again because one of the other ones had pearl jewelry. The other had a lace glove. I felt a combination of both would link them.
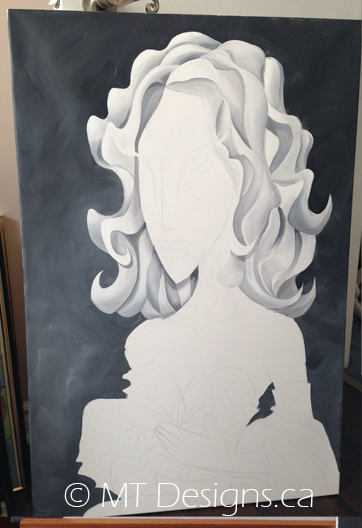
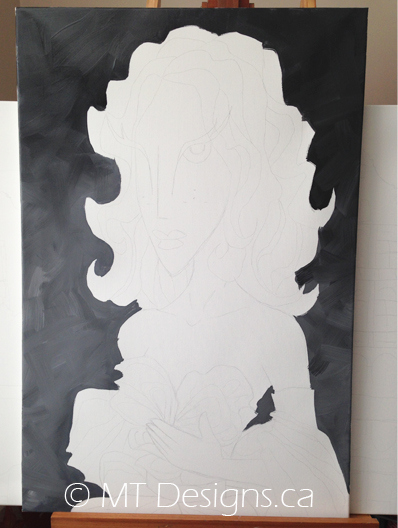
I also painted the background quickly while she was at her first home.
THEN I threw her in the car, barely dried, and headed to a local venue where I was to do a live painting demo as part of an exhibit!
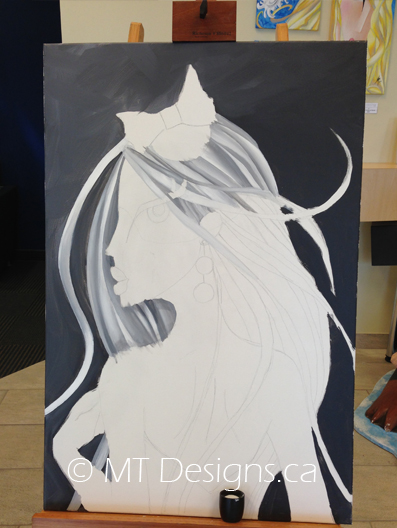
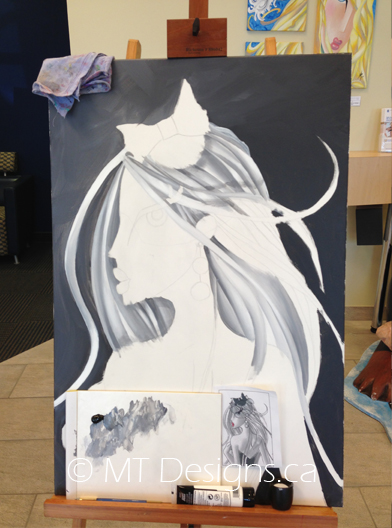
I set her up on the easel, got all my painting supplies and started painting her hair while people watched and asked questions.
I basically spent all afternoon painting away her hair strand by strand. I had to plan on painting a part of the piece that would allow for interruptions when people stop you to ask questions or make (really nice) comments. The last thing you want is to be rude.
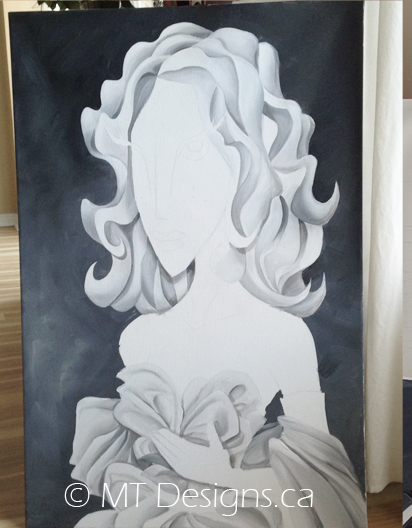
I felt the hair was perfect for this because it is sectioned off by very little areas. I usually paint one tiny section at a time anyways, so if I had to stop and it dried before the blend was complete it was no big hardship to start that piece over
I was a pretty fun time. I managed to get all her hair done eventually. There wasn’t much more that I could start in an event like this. Any skin area needs very wide blending and that needs to be done without interruption.
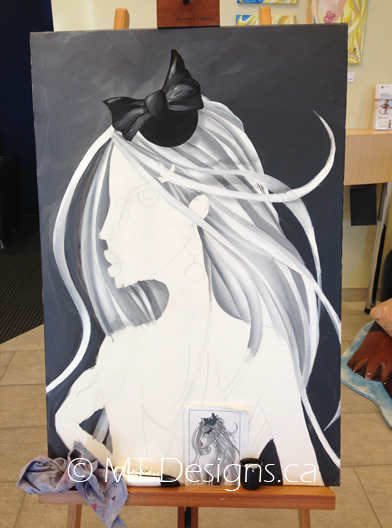
So I decided there was one more thing I could do and that was the little hat/bow thing on her head that holds the lace veil up.
Very quickly done.
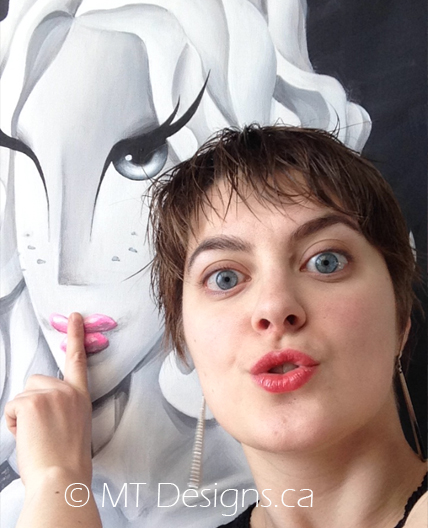
I let her dry a bit. Washed up all the brushes. Did a mini photo shoot besides her (I think they were featured in a newsletter of sorts. Yay!)
When everything was ready to go, I drove her to her new home. She was the first painting to enter it, possibly even the first thing period. So there she stood on the easel, in the new studio. Quite the adventure for a painting wouldn’t you say?
Then I abandoned her for the next 6 months…
But that’s another story.
-MT
The Eyes
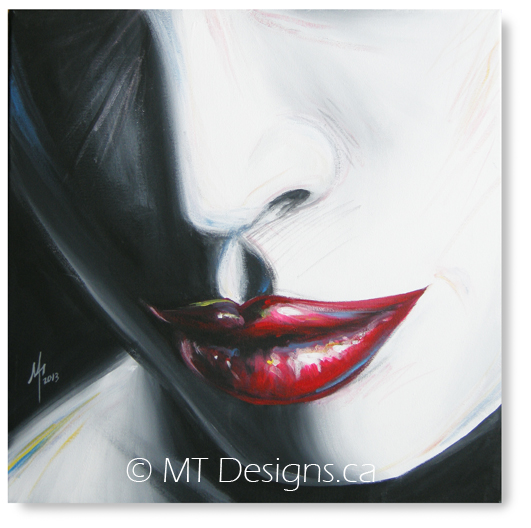
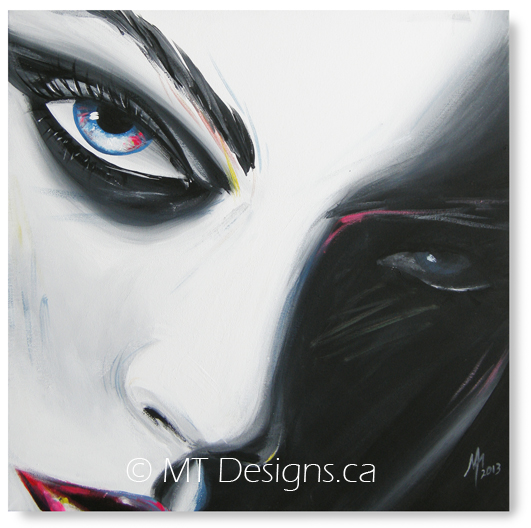
The next piece I will talk about is a companion to the ‘Big Lips’ painting from a few months ago.
I planned three separate images for this set. One focuses on the lips, the other on the eye and a third is planned to be a profile. I have a very specific color scheme for them. All black and white with crazy color highlights on specific, showcased areas.
It’s nice to have a plan!
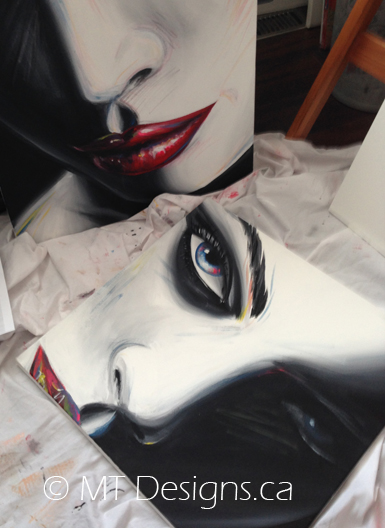
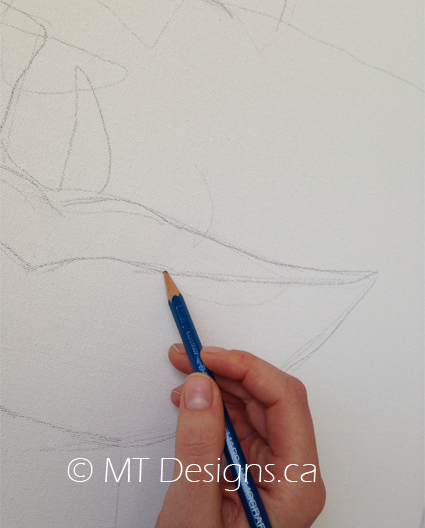
As always, I will start by sketching the image on the canvas. The ‘Big Lips’ and this next painting are actually the same drawing. I took a different section of it for each canvas and I flipped one horizontally… small secret… But it worked really well for this project.
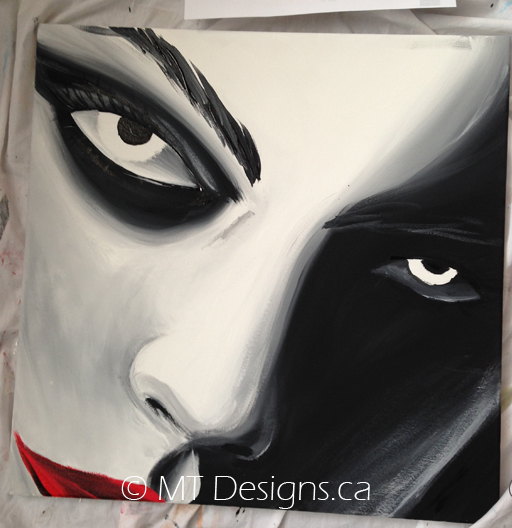
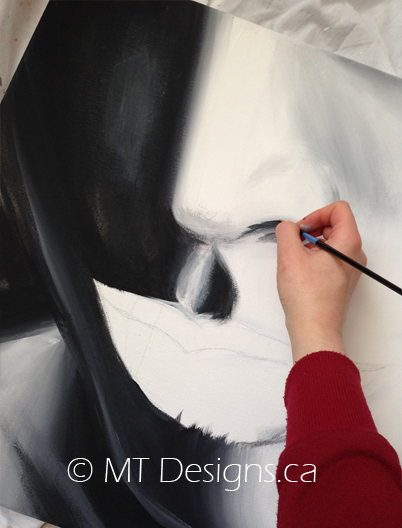
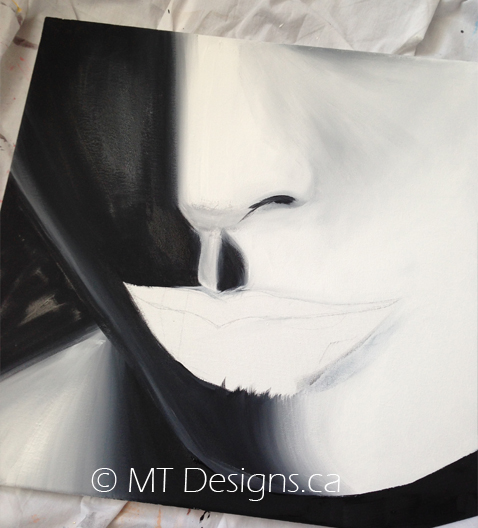
Next step is a very large step. Because the painting is just one big face, all the skin areas have to be completely done all at once.. which is basically the entire canvas. This part is all black and white. So I do a quick paint and get the blends started between the light and shadowed areas.
I have to smooth all those out a bit more. And make all the adjustments I want of course.
Then comes the base colors for the eyes, eyebrows and just the hint of the lips. I don’t want the focus to be on the lips but, having just the corner of them on there helps to tie this piece to the last piece.
No color on the irises yet… Makes her look very vampiresque right now doesn’t it? Maybe that’s a painting for another day.
I find creative work is very self sustaining that way. One project leads to an idea for another which leads to an idea for another and so on… Very exciting always!
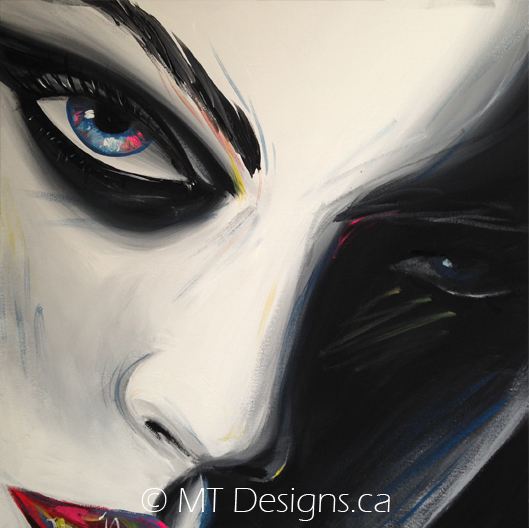
I paint the irises next. That’s where I want the crazy color highlights, so it’s the step I’ve been looking forward to. I love doing the eyes. I can take as long working on those as I took to work on the entire painting so far. But then they are the focal point of this piece so I feel that is justified.
Here she is with her friend ‘the lips’
All that’s left at this point is tweaking and adjusting. Don’t go thinking this is a fast step though. That can be the longest step of all.
I wanted this set of paintings to have very strong contrast and very rough brushstroke lines from up close. The crazy colors in the lips or in the eyes are neon paint which are completely unnatural colors. BUT THEN! When you step away.. When viewed from afar… It looks like a regular colored, perfectly smooth portrait. I love the contrast in the perception! Makes it so interesting to me.
And here is the second one done. I’ve already started on the third but ended up abandoning her over the past few months. It’s probably time I get back to her. Gotta complete this set for you guys!
-MT
Flashback Friday!
For this week’s Flashback Friday I have a pastel piece.
This piece is from 14 years ago. I may have picked up a pastel or 2 before then but this was the very first time that I truly learned how best to use them. I don’t recall having done a true complete piece with the medium before this guy.
This is where I learned there was specific textured paper to use with the pastels. It has all these little grooves in it so they catch all the colored powder they make.
And I also was introduced to pastel pencils, which I remember only finding out about at the very end of the project, when it was pretty much complete. I used the pastel pencils to do the whiskers. I was very impressed with them.
Nowadays I love pastels! And it is probably all due to how this first real attempt at using them turned out
These Flashback Fridays have a side effect for me… I see them and think “I should try and redo this. It could do much better today.” And it’s because I remember loving to work on them so much!
So I wouldn’t be surprised if a pastel tiger pops up soon in my future projects.
-MT
Shhhh…
It may seem on occasion that I abandon my poor paintings for eternities at a time, and though that has been known to happen, sometimes I just end up lacking time to talk about them for a while because of other projects.
And so, before everyone yells at me, I thought I should “officially” finish the bride painting I was talking about months back.
Here is what I left you guys with…
Poor thing has no eyeballs. It’s really time that I paint them on for everyone to see (pun intended aha! I can be so hilarious! No? Ok..)
The eyes are very important when I do this style of art. I always resist the urge to start them and instead, wait for a fresh day. Torture I tell you! But the results are better so I grab all my self control and leave the painting overnight.
They start out very dark. The top near the lid is always black because of the shadow that would be there in real life. Then I apply several lighter blend waiting for each coat to fully dry first. This part is difficult for the waiting alone. I get very impatient to see the paintings complete.
This is what you get when it’s all done. And never forget the little light spot on the side the light is coming from. That gives the eye life!
She’s looking pretty good so far. Time for my favorite part now: the colored lips!
In fact it’s so exciting I forgot to take a “making of” picture of the whole process…
It’s ok though. I will make her a bridesmaid and document the process then to make up for this.
Here she is! Doesn’t she look fresh and pretty?
She seems like a very kind person to me. Ahaha! Maybe I see a bit too much into my painted pictures.
One step left to complete this one…
Tadaa!
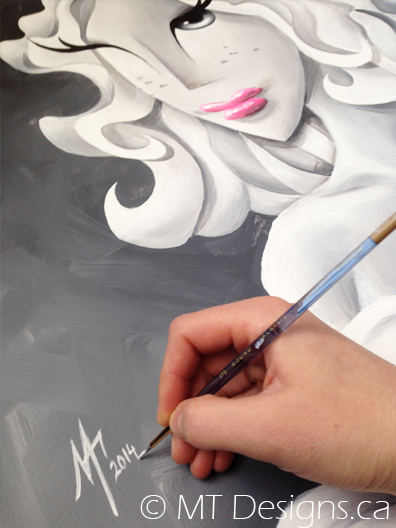
Signature is always so final. I refuse to do any more tweaking on my pieces after I sign them. Very necessary decision because I would just keep making millimetre adjustments to them forever otherwise.
You can see how happy I am after they are finally complete.
I like taking a final picture of my paint palette sometimes too. I don’t think I’ve ever shared these here. That’s the entire journey of the painting right there. Each is unique. You recognize the color scheme for this one.
Now this lady was done a while ago.
I have also completed her bridesmaid friend and will be talking about her very soon…
But don’t tell anyone!
Shhh…
-MT
Spidey Cake Week!
It’s been Spider-Man week!
I ended up having three separate orders for custom drawing Spider-Mans on cakes over the past week.
First I ended up with a 8″round double layer cake. The request was for a Spider-Man theme… Pretty much left to my discretion as to how I wanted to interpret that. I love when that’s the case because I get ideas! In this case I thought Spidey’s head could be the border of half the cake (to maximize space & shape). Then I figured writing the inscription in a comic word bubble would be neat.
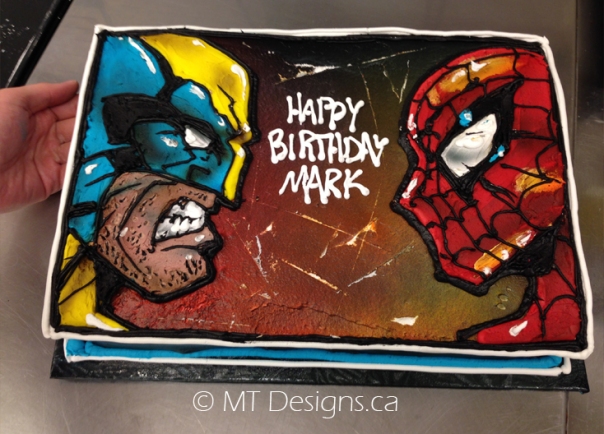
Then oddly enough, two days later someone approached me about a Spider-Man/Wolverine cake. This one was a rectangular slab cake. Cake space was limited and I needed to fit an inscription so I decided having a partial face on each side would be perfect. I found a perfect picture of the two as reference! For more complex drawing of something so specific, it can help a lot to have a reference image sitting on the table to guide you.
Next one had to be a combination cake & cupcakes. It was a round cake also, so I made that the head (with the spidey sense tingling & everything!) and then iced the cupcakes to continue the idea of the suit. The rest were background blue with webbing. The inscription is in a bubble again but with a surface this large I took the option of icing that right on the board. Yay for innovation & using everything at your disposal for a complete picture!
Et voila!
Much fun as always.
-MT
Getting A Bride Ready
Last painting session ended with this:
Looks a bit like a ghost in a fabulous wig… Interesting idea for a future piece now that I’ve said that. Let me write this down in my notebook…
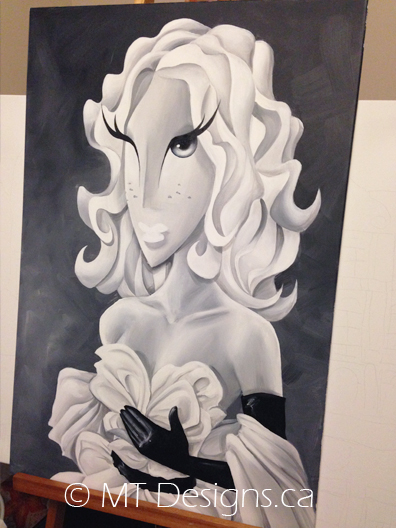
In any case, the hair is a success. The next step is to paint her dress. Her dress is meant to be white. I had this original concept for her to be a lovely bride. There’s a couple of companion pieces I have sketched that would be her bridesmaid & maid of honor. Not set in stone yet though. We will see…
I saw this fashion dress somewhere that was made of all these ruffles all over it. I liked the look and that’s what this one is based on. Ruffles create all this texture that’s visually fun!
Next step is to paint the skin. Although I love the skin areas of my painting the most when they are done, I always know that this is the most intense part of them always. Especially in one like this where there is no ‘break’ for me to be able to do sections one at a time. There’s the face and there’s everything else… And they each have to be done as an entire block all at once. Getting all those subtle tone changes in there is tricky. Verryyy tricky.
Sometimes there will be a necklace, a bracelet or the strap of a dress that will cut through the area so I can do them in multiple sections. Much easier. But today this was not meant to be.
I love the result though. LoooOove it! I mean, look at that shoulder!
Ok, back patting for me.
The faces I do in this style are also tricky because they are so simple that they have to be perfectly smooth and even. But once again, worth every ounce of effort!
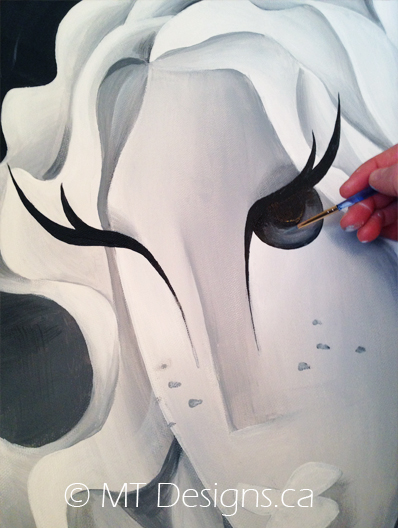
This lady is getting freckles. I was really looking forward to this small part. The little things sometimes make me smile the most.
I always think, at this stage, that it looks like a plaster sculpture almost.
Then I get to add the stark black parts & ruin that effect completely.
My lovely bride will be wearing black gloves & a black belt to her fancy white dress. I just love the contrast.
And just to finish off this session, I will start applying her makeup… Just the mascara though.
I don’t want to rush on the last few steps because they are very important ones.
Time for a break.
-MT
Bouncy Hair Challenge
A while back I had sketched a bunch of ideas for these classy lady paintings I do. I have a bit of a stockpile of sketches in fact, so it’s nice once in a while to grab one and make it become reality.
This is the one I chose for the next project
Every time I do one of these Ladies I try to put an element in it I have not previously done in this style. It keeps things interesting and I find it a challenge to adapt things from reality into a specific stylized world. The result always looks fairly obvious but the process of figuring it out isn’t always. It is, however, always exciting.
In this one I decided to try and do bouncy hair. Yes that’s right, bouncy hair. Fun right?
Also some freckles as an added bonus.
The step after a good sketch is to transfer it to canvas.
I draw it out as accurately as possible. When working on a canvas large enough, sometimes I use a projector. That way the lines are exactly as they are on the sketch. Smaller canvases I can just free hand the entire thing. I find it has a nicer natural flow to it when done like this so even if I do use the projector, I go back over the copied lines and tweak them.
Each method has it’s strengths and weaknesses so you have to know what works best for each projects
Next up is painting the background. I keep it very messy. Big bold brush strokes. The lady is mostly very pale in color. White dress, fair skin, light hair. So I’ve decided on a darker background for contrast.
I wasn’t sure if this might be a tad too dark but I decided to move forward and figure it out later.
And let’s see if we are up to the bouncy hair challenge! So far I’m liking how it’s turning out. A small section like this takes a fair amount of time to do. I always underestimate time. You get lost in the work and it just disappears on you. Crazy!
And we have the hair completed! I am really really excited at this point. I loooove how it turned out. This is the stage at which I end the painting for the day but carry it around the house everywhere I go.
Whattt?! Looking at it incessantly helps me plan the next steps AND see what adjustments need to be made!
What can I say? Art is a very obsessive kind of profession. I’m used to the eye rolls so go ahead everyone…
-MT
Flashback Friday
Haven’t had a Flashback Friday in a while and I’ve received complaints (if you can believe it)
All good natured though, which is why it’s making a comeback this week! Also I love them too!!
When I was little, I loved doing odd art experiments & tests. Looking back at them today I still find them immensely interesting.
For example:
This particular experiment/test consisted of me doing a simple self portrait of myself (the one on the right) and then trying to do the same on the left BUT with my eyes closed.
I think it was just to see how good I was at sketching with no sight because why not. I was always curious about things like that.
I think that’s fascinating stuff right there!
Which is why… I’m going to try it again! Right now before your eyes!!
So very quick cartooney sketch of myselt first. Then closing eyes and attempt to duplicate.
Here are the results:
Oh I am laughing so much at this…
I think I remember coloring both pictures after the fact. So only the black outlines were done with the eyes closed. Let’s do that again before we compare past & present versions.
Okay! Interesting… Very interesting. It seems my sightless drawing skills have not improved over the years at all… Forgot to draw one of my earrings too and for some reason I look angry!
I should do this test every year.
I laughed so hard when I opened my eyes and saw the tiny squished up face I drew for myself! I encourage anyone to try this for themselves.
-MT
Crazy Colored Lips
Last week showed the beginning of a quick piece I was working on. I got all the way up to painting the nostril details. You end up doing a lot of seemingly weird things like that when painting. You just think nothing of it at the time.. But then you write something like ‘nostril details’ and you have to pause for a moment to smile at that statement a bit..
Smiling is important.
Smiling at yourself? Even more so.
So then, here I was, painting some nostril details on this big face…
That was all good. The face was all done except for later adjustments (they always come at some point). Now was the time to start work on the focal point of the piece: The big lips!
I wanted them to be full of bright colors. From afar they had to seem to be just some normal, very glossy, red lips BUT.. The closer you got to the painting, the more you could see that they were full of crazy colors! That’s the plan.
Let’s see if it worked out
I start by painting the reds on there. There’s different shades. I paint the darker ones first and then will apply brighter, thicker coats of bright red once this is dry. Blue is a very contrasting color that you should not see on red lips so I chose to use it for some of the highlights.
Already it’s looking pretty good (in my opinion) but I wanted a bit more crazy in there! This is just the base coat of the lips. They are still missing their shine.
I decided to include some yellows in there as well and this neon pink paint I have, just for minor highlights.
I added some color to the face at this point. It needs to be blended in a bit so that it doesn’t appears so harsh. I’ll do that by applying very thin coats of translucent white paint over the areas until I am happy with what is showing through.
At this point I can also see that the top left black area of the face needs a bit more light highlights.
The lips must’ve taken 6-7 coats of paint. When working with bright, solid colors like this, a lot of the application ends up just being a thick blob (technical term?) of paint and all of this must dry before the next coat.
What a fun process though!
And here is the final result. No need for further delays. It was meant to be a very quick piece after all.
One down, two more to go!
-MT
I love faces!
A while ago I started a series of very quick projects. There were to be a few sets of them, each a bundle of 3 pieces that would be displayed together. By that I mean that they would share subject matter and color scheme, maybe even size, so that when showcased together it is very obvious that they are part of a collection.
The first bunch were planned to be close ups of faces using crazy colors to highlight specific features. I love faces!
So let’s get sketching…
Alright, I picked lips as the first piece. I love lips! They can be so plump and shinny.. Perfect to use crazy color highlight on.
First step is to sketch the major lines onto the canvas. As I said earlier, this one is meant to be a quick project. No wasting time! Big bold lines and we’re done.
The color scheme for this set of 3 is going to be very simple as well. I plan on doing a mostly black and white painting with very heavy contrast then add bold colors on the featured areas.
Large surfaces of black and white mean a lot of smooth blending. This step is most probably the longest I will have to do on this painting. I try and work by section.
You can only end an area with 100% pure black or 100% pure white so this has to be planned out.
When this is all done (it really wasn’t all that bad) we get a bit more of an idea where this piece is going. This is the base coat for everything else. Looks a bit odd for now.
Last step for today is to add all the extra details to the base coat.
The nose needs a bit more definition and I always have to adjust the light highlights and fine shadows a million times before I am satisfied. It’s important to get all of these right before moving on to the next step: Painting the crazy lips!
Can’t wait!
-MT


